 العربية
20FIVE JOURNAL / LIVE STUDIO GUIDES
TikTok LIVE Equipment in Dubai: Cameras, Audio & Lighting
A practical equipment checklist for individual and group LIVE studios — with real setup photos and compatibility checks to make before buying.
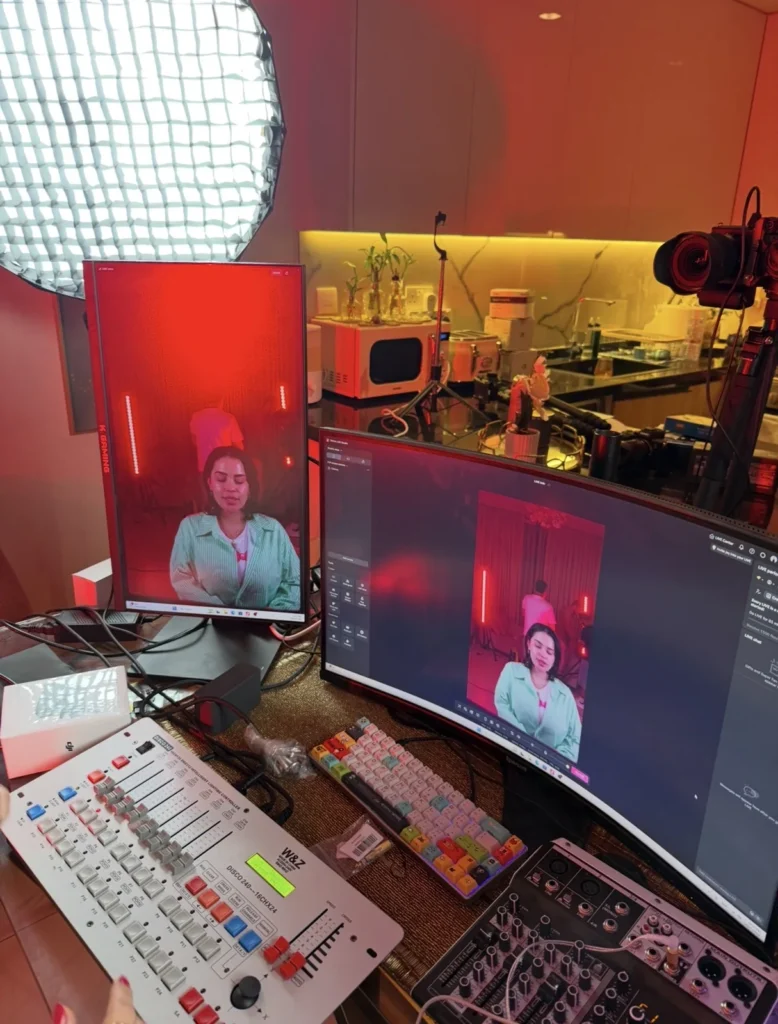
A TikTok LIVE equipment checklist should cover a camera or supported video source, suitable microphones, lighting, a compatible computer and capture path, stable connectivity, safe power and monitoring. The exact equipment depends on the room, creator movement, camera views and software access. Test the whole signal path before committing to a purchase.
Map the camera-to-stream signal path
Start by writing down how the picture and sound will reach the streaming software. For an external camera, one possible path is camera → supported video output → compatible capture device or switcher → computer → supported streaming software. Some cameras support a different connection method; check the manufacturer’s documentation for the exact model.
Map audio separately: microphone → receiver or audio interface where needed → selected software input. Confirm which device controls the level and how the operator will listen to the result. A tidy diagram makes missing adapters, unsupported inputs and duplicated audio easier to identify.
For the wider room layout, installation process and approximate delivery times, read our TikTok LIVE studio setup planning guide.
A practical TikTok LIVE studio equipment checklist
| Equipment area | What to plan | What to check |
|---|---|---|
| Camera and lens | Framing for the creator or group | Supported output, focus behaviour and room distance |
| Capture or switching | A compatible path into the computer | Inputs, outputs, drivers and supported formats |
| Microphones | Speech pickup for the movement and number of people | Connections, monitoring, noise and placement |
| Lighting | Key light, coverage and background separation | Reflections, shadows, stand position and room space |
| Computer and displays | Software, sources and operator visibility | Ports, workload, ventilation and readable controls |
| Power and cabling | Safe connections for the planned session | Manufacturer-approved supplies, cable routing and strain relief |
| Network and monitoring | The connection and a way to review the output | Performance under real use and audio/video timing |
20Five’s preferred equipment for individual LIVE studios
For individual LIVE studios, the following equipment is on the 20Five team’s preferred shortlist. We adapt it to the room, creator movement and operating workflow; it is not a fixed bundle for every studio.
| Equipment | 20Five preference | What we check before installation |
|---|---|---|
| Streaming computer | Gaming PC with NVIDIA GeForce RTX 5060 | Review the complete PC configuration, software requirements, available connections and performance during a full rehearsal. The graphics card alone does not determine streaming stability. |
| Camera and lens | Sony α7 III (A7 III) with a 35mm lens for individual LIVE | Test the working distance, portrait framing, focus and room depth. A 35mm lens is our starting preference for individual setups; a group studio needs its own framing review. |
| Audio interface / sound card | Focusrite Scarlett | Choose the exact Scarlett model around the number and type of audio inputs. Match microphone or receiver outputs to the correct input level and connection. |
| Video capture | Elgato capture card | Select the exact model after checking camera output, resolution and frame rate, computer ports and manufacturer requirements. |
| Microphones | DJI Mic Mini 2 (2 TX + 1 RX + Charging Case), or RØDE microphones | Choose the exact model for seated speech, movement or multiple speakers. Test receiver routing, monitoring, gain and lip-sync with the final setup. |
| Shortcut controller | ULANZI stream controller | Confirm that the controller software and configured shortcuts work with the chosen production software. Test every mapped action before handover. |
Our individual-studio starting point: Sony A7 III + 35mm lens → compatible Elgato capture device → gaming PC with RTX 5060. The audio route is selected separately around the chosen microphone and Scarlett interface. We then add lighting, suitable mounting, power and a tested control workflow.
A wireless receiver, USB microphone and XLR microphone can require different audio paths. We do not assume every DJI or RØDE model connects directly to every Scarlett interface. Likewise, a shortcut controller is an operating tool, not a replacement for a capture device or video switcher.
Check the Sony A7 III specifications, Elgato capture-card selection guidance and Focusrite’s audio input-level guidance when reviewing the final equipment list. For a project-specific configuration, request a 20Five studio setup quotation.
Choose cameras for the room and the content
Choose a camera around the shot you need. A seated creator needs a different frame from a group that moves across a set. Check the lens and usable camera distance before placing an order, then test how focus and exposure behave when the creator moves or holds an object near the camera.
For an external camera workflow, verify the output and whether unwanted overlays can be removed. Confirm that the capture device and software accept the selected signal. A high advertised recording resolution does not tell you whether that camera will work well in your complete LIVE system.
Ask for a connection test with the proposed camera, cable, capture hardware and computer. Keep the exact model names in the quotation, including the adapters and power accessories needed for the agreed workflow.
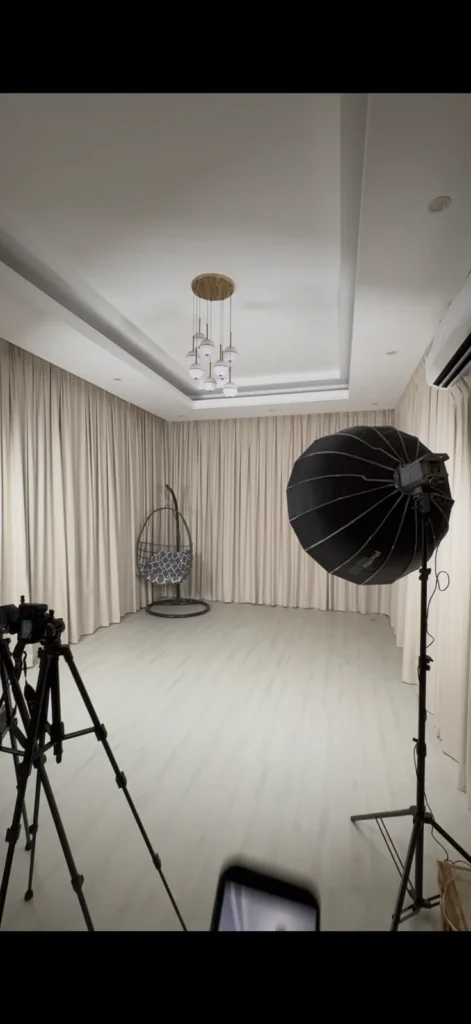
When does a multi-camera switcher make sense?
A hardware switcher can be useful when an operator needs to move between a wide group shot and closer views. It adds inputs, controls and a new part of the workflow to configure. For a single fixed shot, a simpler compatible capture path may be sufficient.
Decide how many views are genuinely useful, who will select them and how the final output reaches the computer. Check the switcher’s input formats, output connection and audio handling in the manufacturer’s documentation.
Do not assume a switcher provides access to TikTok or removes the need to test the computer, connection and software. The useful question is whether the proposed system can perform the intended session reliably in a rehearsal.
Microphones: match the pickup to the creator
A creator who stays near a desk can use a different microphone arrangement from someone who walks around a group set. Consider where the microphone will be placed, how far the person may move and how much room sound it picks up. Test normal speech, louder moments and movement.
For more than one speaker, agree how each voice reaches the mixer or interface and who monitors the levels. If a wireless system is proposed, test its placement and operation in the actual room. If wired microphones are used, plan stands and cables around movement.
Listen through the intended monitoring path and review a short test recording. Check for clipping, hum, clothing noise, echo and any mismatch between lip movement and the sound. Microphone choice, placement and room conditions all contribute to the result.
Lighting: test every creator position
Plan lighting around the faces and actions in the frame. A soft key light can be a useful starting point for an individual creator; a group needs coverage checked across the positions people actually use. Keep stands and cables out of movement routes.
Review the camera image while adjusting the lights. Look for harsh shadows, reflections in glasses or shiny surfaces, bright background distractions and changes caused by daylight. Background lighting can help create a visual style, but the creator still needs to remain clearly visible.
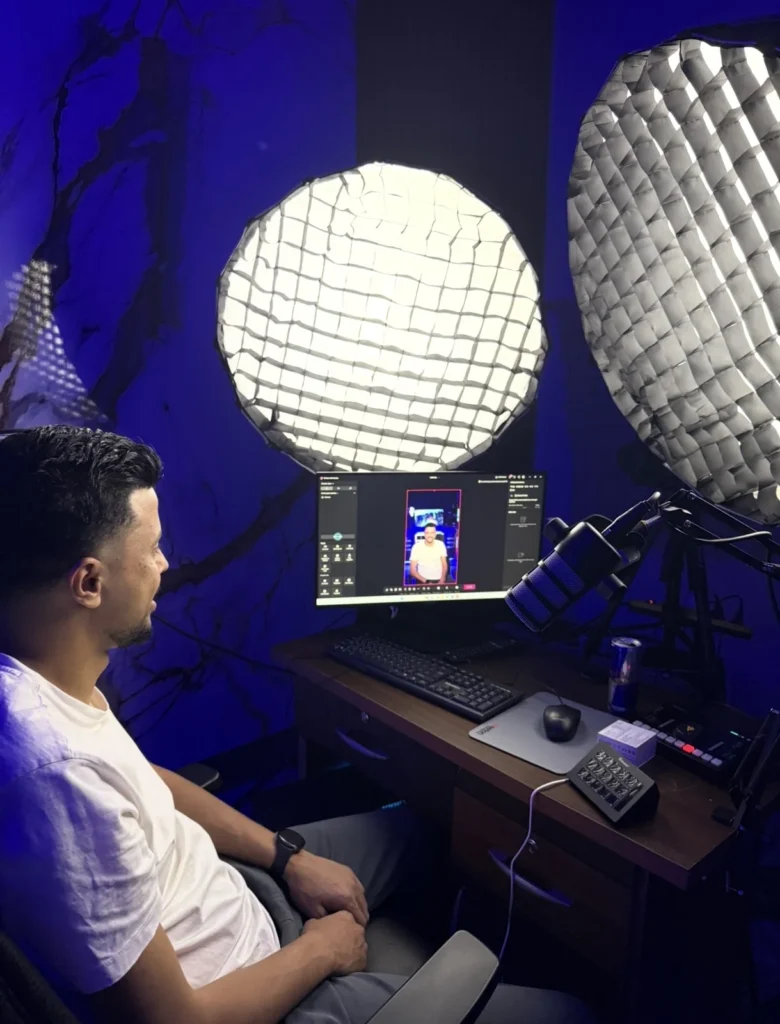
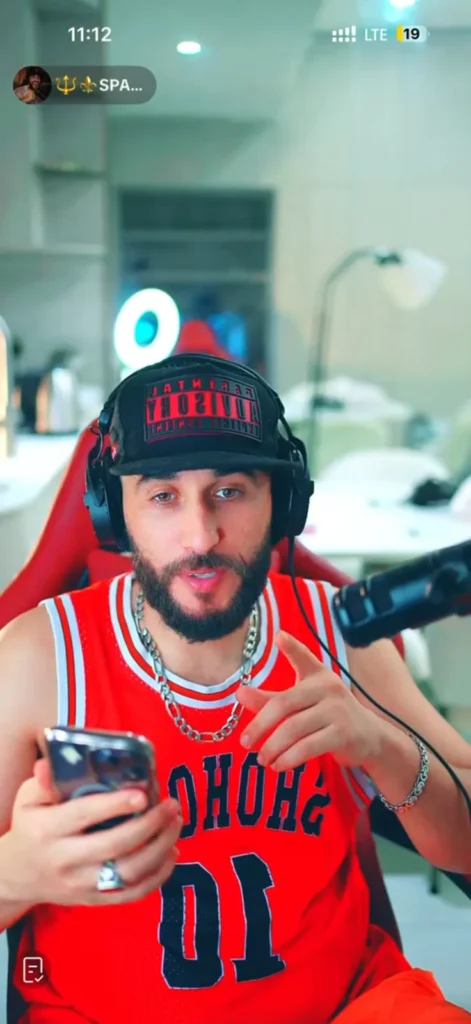
The project photos in this guide show different lighting and background choices. They are examples of 20Five’s work, not a requirement to buy the same equipment or copy a particular set.
Power, heat and cable management
Check how each device will be powered for the intended session. Use supplies and continuous-power options approved for the specific device; a battery adapter is not automatically suitable for every camera. Review the manufacturer’s instructions before changing the power arrangement.
Keep ventilation paths clear and test the equipment for the intended workload and duration. Different devices respond differently to heat and operating conditions. Continuous power does not guarantee that overheating or connection problems cannot occur.
Label cables and secure them where appropriate so a small movement does not pull at a connector. Leave a clear operating route and have electrical work assessed by a qualified professional where needed. Include required cables, adapters and mounting accessories in the equipment scope.
Software and account compatibility
Check TikTok LIVE eligibility and the tools actually available to the account before selecting the final streaming method. See TikTok’s official LIVE troubleshooting guidance. Equipment purchases do not themselves unlock account features.
If OBS is part of the supported workflow, its official Quick Start Guide explains initial configuration, sources and audio checks. OBS also documents video capture sources and device options. Confirm current compatibility for the exact hardware and operating system.
Avoid copying settings from an unrelated studio without testing. The computer, source signals, network and available account tools all need to be considered together.
Run a rehearsal before the first planned session
- Turn on the devices in the agreed order and select the intended inputs.
- Check the individual frame or the widest group position.
- Test normal movement and every planned microphone.
- Review lighting, focus, reflections and background distractions.
- Listen for duplicate audio, clipping, room noise and sync issues.
- Test the workflow with the account tools and connection being used.
- Review a test recording and note any problem before handover.
Keep a short checklist at the operating position. If the person running the studio changes, use it for a supervised practice session and confirm that they can identify the correct camera and audio sources.
Equipment questions before requesting a quotation
Do beginners need several cameras?
No single camera count fits every format. Begin with the shots your content requires and expand when another view has a clear purpose.
Can existing equipment be reused?
Share the exact models and connections. Reuse should be based on a compatibility review and a practical test with the intended workflow.
Does equipment supply include installation and training?
Confirm this in the quotation. 20Five can scope equipment, installation, configuration, testing and training together through its professional TikTok LIVE studio setup service in Dubai.
Can the equipment support recorded content too?
Some components can be used for both LIVE and recording, but recording, storage, audio routing and delivery requirements should be planned separately. Do not assume that a LIVE quotation includes a full podcast or post-production service.
20FIVE / LIVE MOMENTS
From the studio to the LIVE screen.
Real captures from creators’ LIVE sessions in studios we set up. Explore the lighting, backgrounds, framing and microphone setups as they appear on screen.
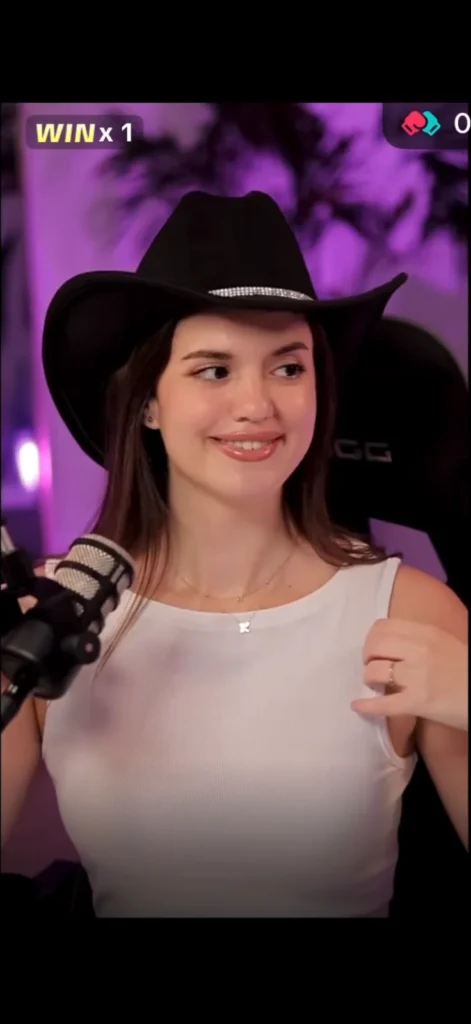
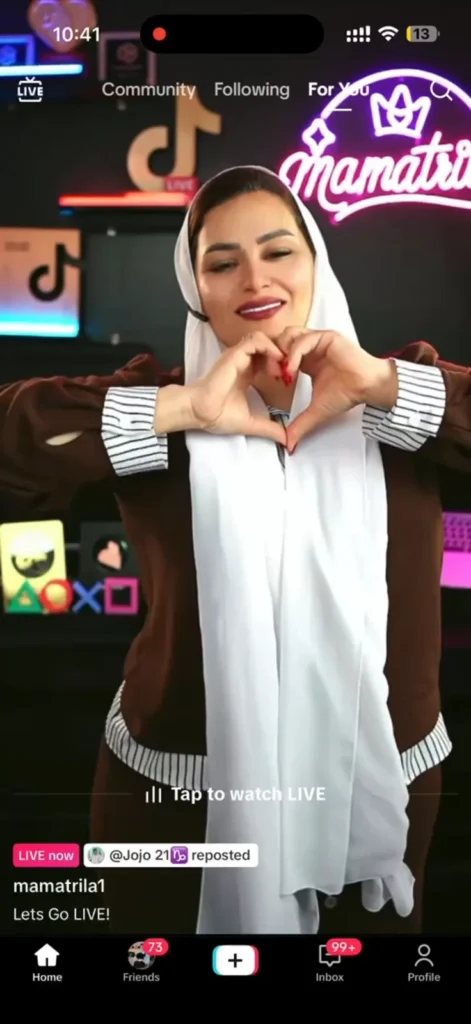
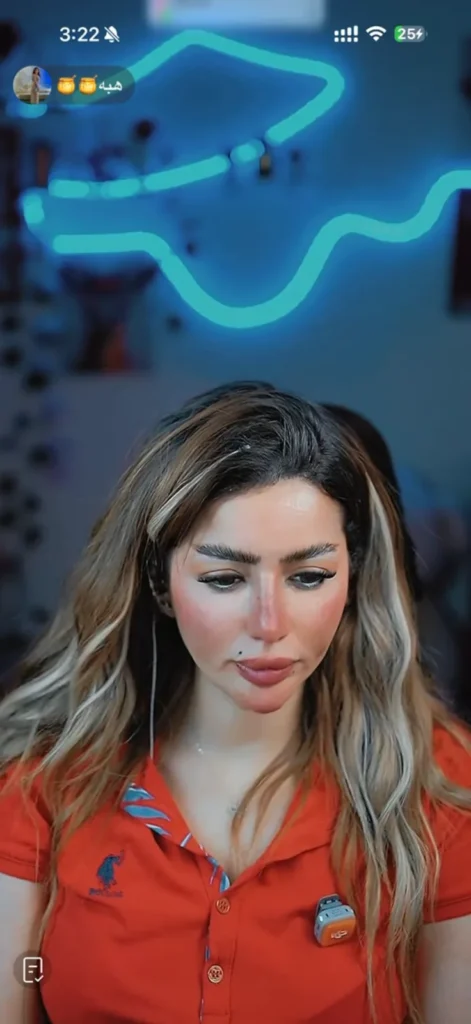
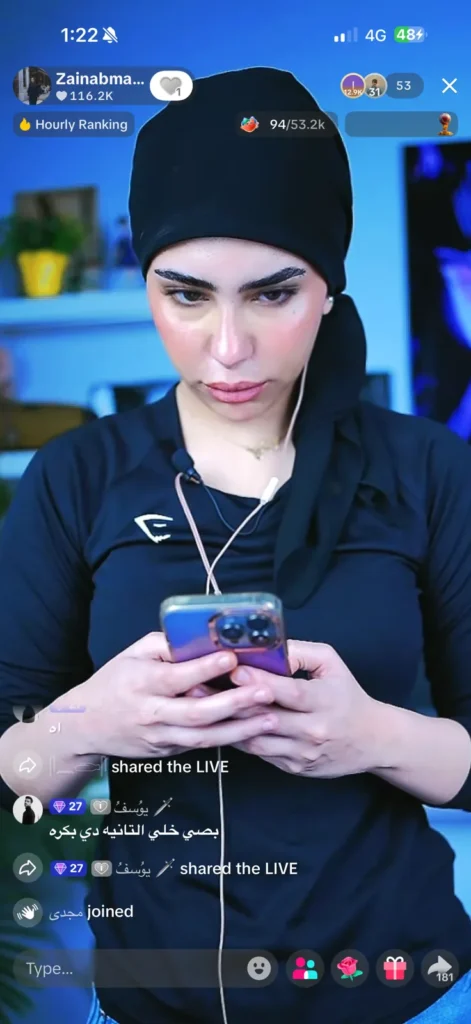
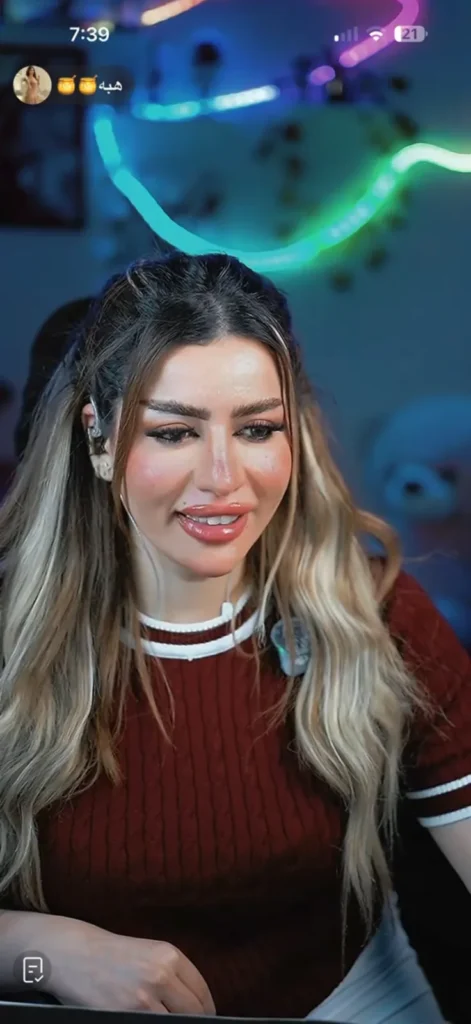
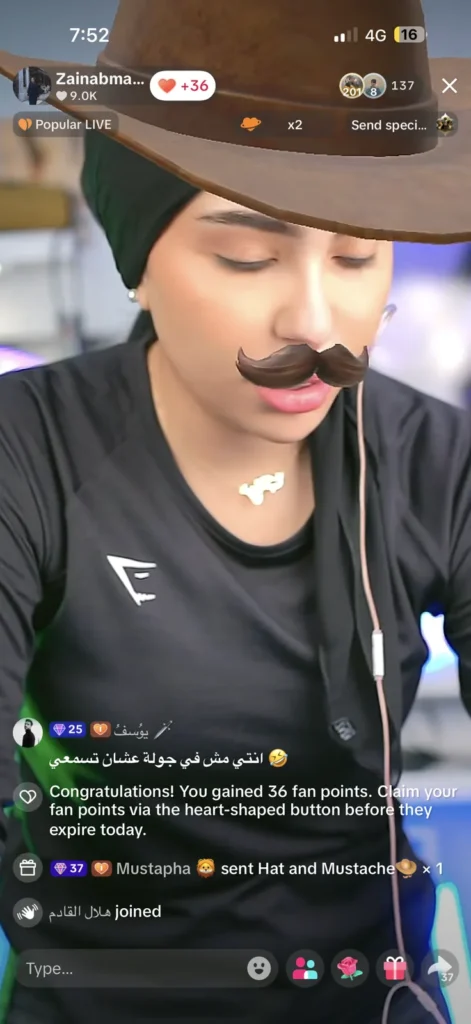
Swipe to explore all seven captures. These are still images from LIVE sessions and may include TikTok filters and interface elements.